DIY: Learn how to make an Easter centrepiece with Vannie
By Photobox on 2 April 2025
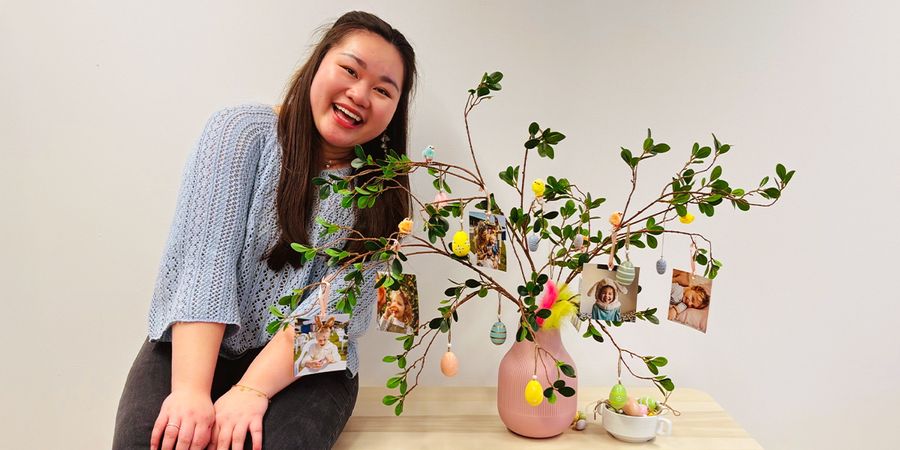
Our Social and Content Marketing Specialist – and resident craft guru – Vannie shows you how to make a personalised Easter centpiece this year.

Hi everyone, I’m Vannie. I have the pleasure of creating social media content for Photobox, but one of my favourite things to do both at work and in my free time is crafting. I’ve always believed that there’s something special about creating something with your own hands. No matter whether it’s handmade decor, personalised gifts, or just getting creative for fun, it’s one of my favourite things to do. I love that crafting lets you add a personal touch to anything and everything, turn memories into something tangible, and most importantly, crafting lets me have some much-needed breaks from too much screen-time.
For Easter this year, I wanted to see if I could make a simple centrepiece that’s filled with memories, literally. If you love a good hands-on project (or just want an easy way to impress your guests at Easter time), this one’s for you. Follow along for my handy steps on how to make it yourself.
Why are Easter trees becoming so popular?
Although in many countries, Easter trees have always been traditional forms of decor, their rise in popularity is definitely connected with the desire to decorate for all major holidays outside of Christmas. I love that they can be a subtle way to decorate your home during springtime and with the addition of photographs, you can incorporate the people you love into your home too.
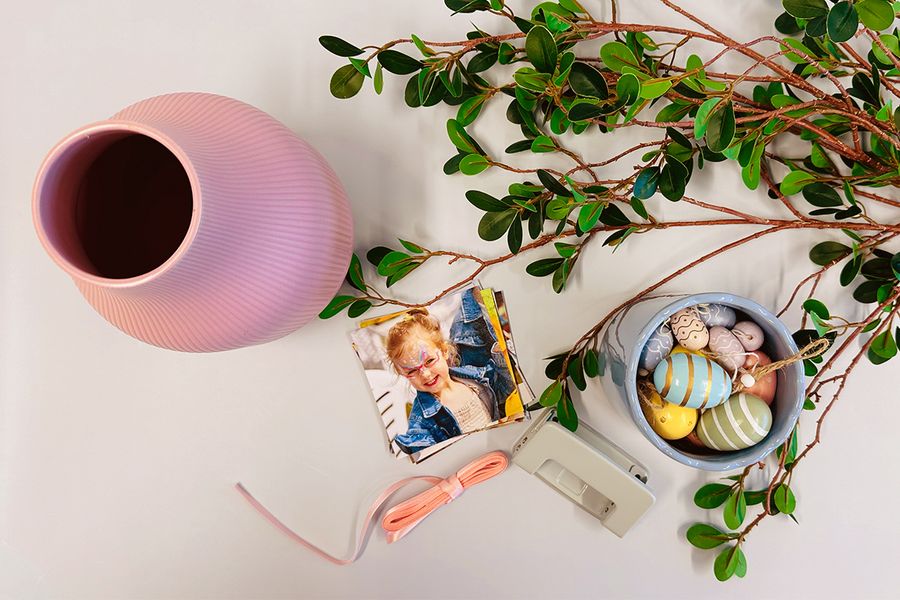
What you’ll need to create an Easter tree
- A vase
- Branches
- Photo prints
- Easter hanging decorations
- Hole puncher
- Small ribbon
How to create your own
Step one: Place the branches into the vase

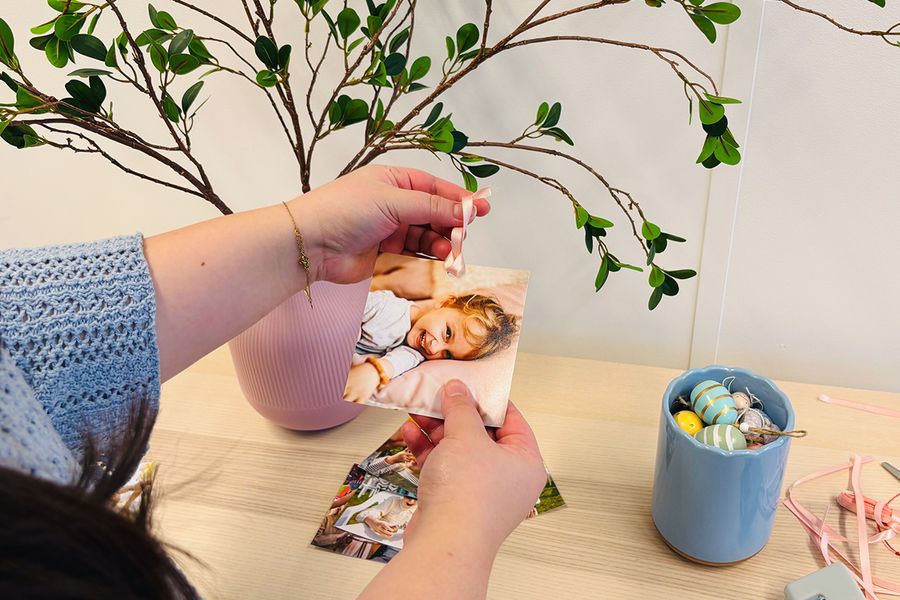
Step two: Punch a hole in each photo print
Step three: Thread a piece of ribbon into the hole you created

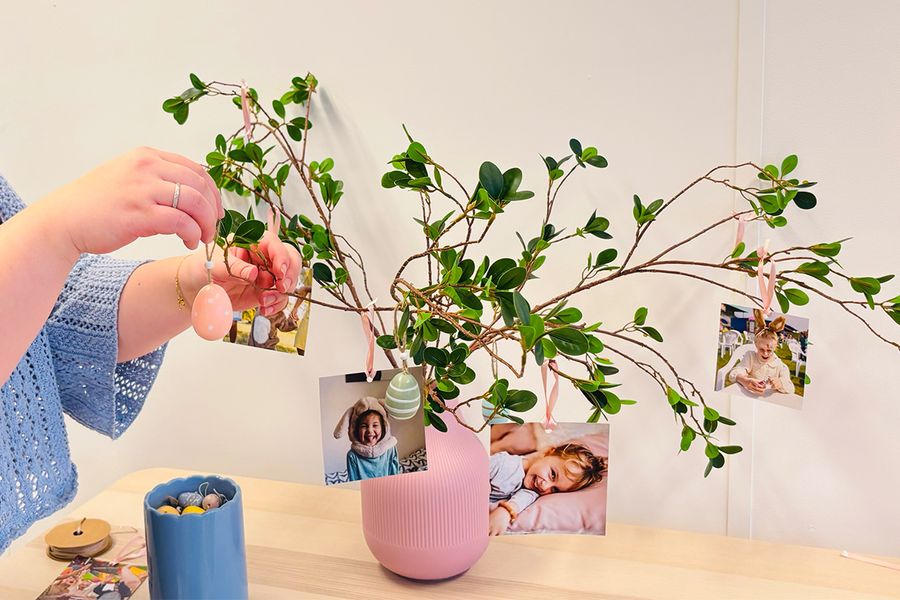
Step four: Use the ribbon to hang each photo print onto the individual branches
Step five: Decorate with the different pieces of Easter decor
