Five steps to create a kids’ team photo book
By Photobox on 28 June 2023
Whether you want to commemorate the end of a fantastic sports season or just celebrate what makes your child’s after-school club shine, a team photo book is a wonderful way to capture team spirit at its finest. Here we take a look at how to create a great kid’s team photo book in five simple steps.

All for one and one for all! From the local junior football squad to your children’s beloved after-school club, there are few better feelings than being part of a team. For our kids, it’s even more special, shaping their understanding of the world and bringing happiness, purpose, and a sense of community that sticks for life. Whether you want to celebrate your child’s fantastic sports season or mark the end of a special school year, our customised photo books are the perfect way to commemorate all the things that make your kid unique.
Creating a photo album bursting with great memories for everyone in the team doesn’t have to be daunting. With photobox, you can easily design your team photo book in just five simple steps.
1. Start planning your team photo book

If you already know that you’d like to create your own team photo book for your kids’ team, start planning great photo opportunities! From school sports day to competitive tournaments, from a girl guides adventure to DofE challenges: photo opportunities come naturally to a kid’s team. The key is to make sure that you or another parent is taking plenty of snaps throughout each team event – and have plenty of fun doing it.
Another top tip when thinking about images to fill your photo book is to make sure you have plenty of images of every team member and remember to reach out to the other parents for permission. Look out for action shots, celebrations, and moments of genuine team spirit and camaraderie. Remember that as well as posed images, often the most authentic images are those candid shots captured from the sidelines.
If you couldn’t prepare specific shots before you start making your photo book, make a list of special events, achievements, or activities that you want to include. Scroll through your own image library, or reach out to other parents in the group to contribute their photos. This can be a fun way to relive some of your kid’s best memories and achievements. It’s about team spirit, after all!
2. Choose a theme
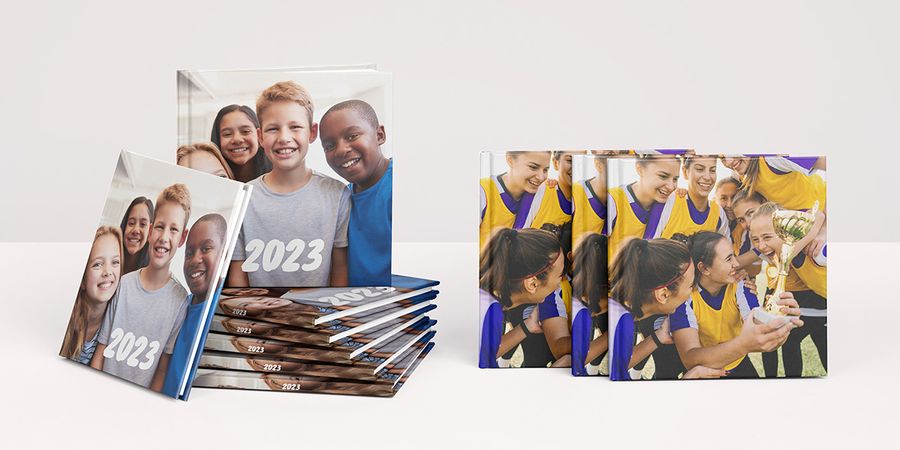
Once you have your photos organised, choosing a great theme is the next step in designing your photo book. With over 250 pre-designed photo book themes, from classic yearbook styles to fun and funky scrapbook styles, browse the photobox library and select the theme that best represents your child’s team.
Pre-designed photo book templates are a fantastic way to get a head start – and are a far cry from the cutting and sticking of traditional scrapbooks. But better yet, our pre-designed templates can also be entirely customised. Choose your colour palette, fonts, and photo positioning and add or subtract as many pages as you need to until you get the perfect design for your customised photo book.
3. Upload your photos and create captions
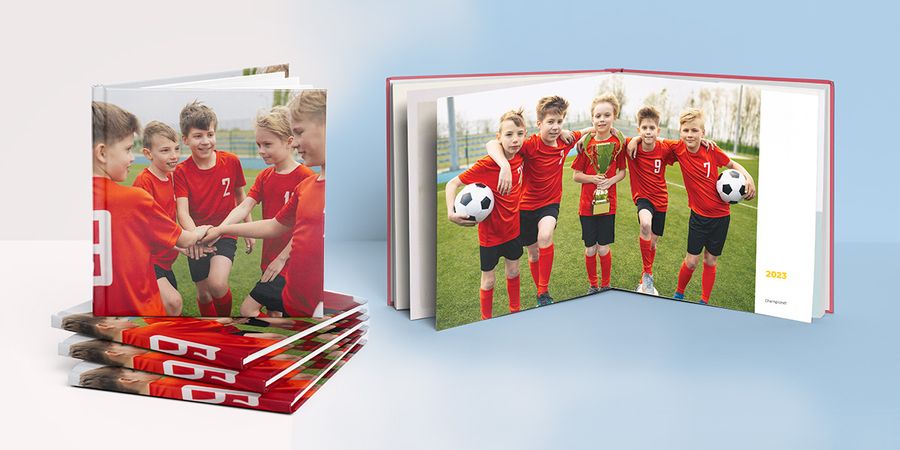
Once you’ve got your theme lined up, the next bit is where the fun comes in: adding your photos and captions. Whether you’re designing your team photo book on the photobox online editor or on the go on the photobox app, simply select and upload the images you wish to include in your photo book, and you’re ready to start. Add photos in date order, event sections, or focus on one child in each section. Remember to save your photo book as you go, so you can easily stop and start your project any time.
Once your photos are uploaded and placed in your photo book, spend some time thinking of some great captions to add throughout. Captions are a fantastic way to add personality to your photo book, capture some of your kid’s best memories, and bring your images to life. Do you have a couple of funny anecdotes from a fun weekend away with the Scouts that never fail to crack the kids up? Or perhaps there is a song that has defined the school year for your child and their group of friends. Reach out to other parents for extra inspiration, then simply select the text tool in the editor and get writing. Select the best font, colour, size, and position – the world is your oyster.
4. Add the little details

One of the best things about creating with the photobox photo book editor is the ability to play with the little details. For a nice addition to a school yearbook, look through the library of fun icons, photo frames, and colourful clip art to add an entertaining touch that will make your kids smile. Head to the dedicated sports category and sprinkle your photo book with your creativity.
5. Do a final proofread and print your photo book
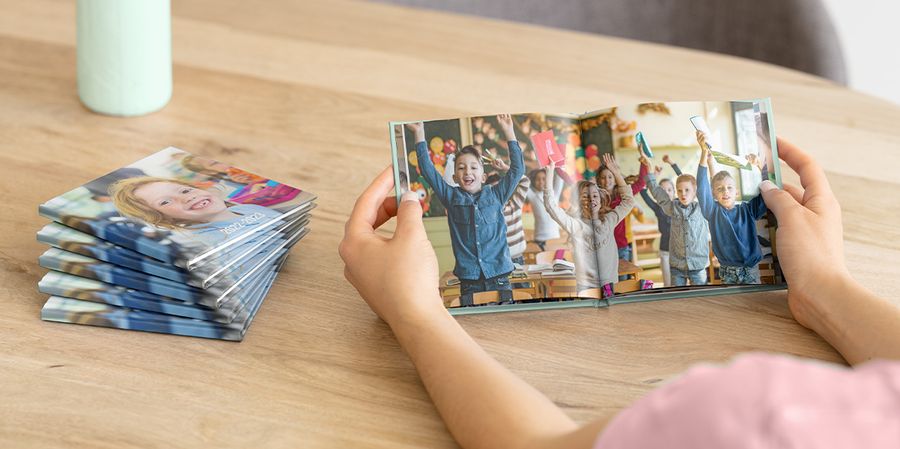
Arguably the most important step in the process of creating your team photo book is the final one: proofreading! Once you’re ready to print, go through your finalised photo book page by page. Read the captions and check for any typos; make sure you’ve covered all the highlights from the team and that you’re happy with how everything looks. For extra accuracy, ask another parent to look through it, too.
Once you’re happy, do a final head count of kids and double-check the number of photo books you need to print so that everyone in the team gets a special memory they’ll love forever.
Whether you’re planning ahead and looking forward to a summer season full of football and cricket, or you’re ready to start right now to create a beautiful school yearbook to mark the end of a memorable school year, browse our library of awesome photo book templates and get stuck in!