5 indoor photography tips to instantly improve your photos
By Photobox on 26 October 2022
Master the art of indoor photography with our expert tips… it’s time to say goodbye to blurry photos.
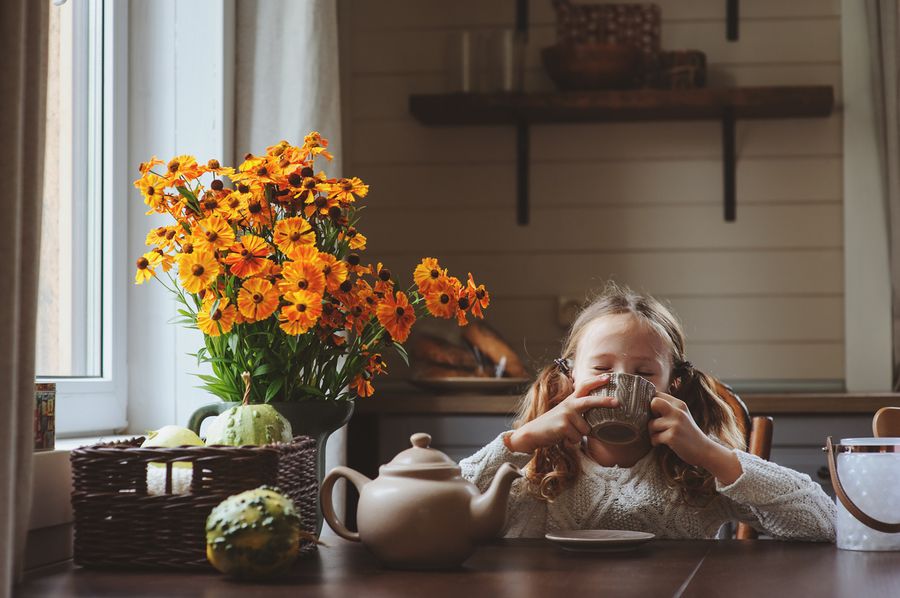
Indoor photography is a struggle even for the professionals. Without natural light or space it can be hard to capture an image at its best. That’s why we’ve put together 5 tips that we’re sure will help you out. Once you’ve mastered these indoor photography tips, upload your photos to Instagram and tag us using the #photobox hashtag for a chance to be featured on our Instagram profile.
Be flexible with your surroundings
Conditions while taking pictures indoors can change quickly and be very tricky, and if lighting is not good (which is often the case), you will want to have full control for your settings to get the most out of your photos.
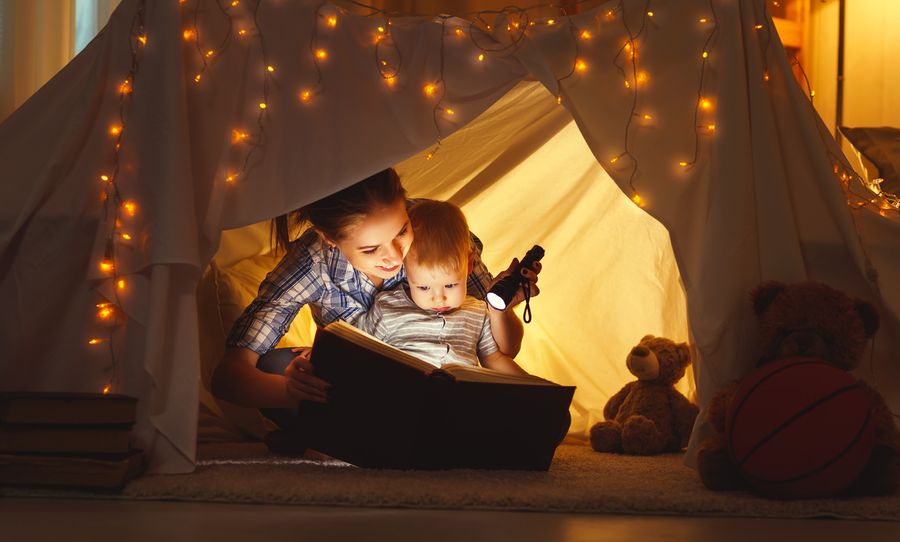
Use a slow shutter speed to let more light into the camera (keep in mind that slow shutter speeds will increase the risk of your photos showing motion blur, so try and find a sweet spot that lets enough light in while keeping the images sharp)
Use a fast aperture setting. This means you should set your aperture to the lowest value possible. Doing this will also enable more light to reach the sensor of your camera, while reducing the depth of field and giving an elegant blur to your background.
ISO regulates the sensitivity of the sensor to light. By increasing this setting your photo will be brighter. While very high ISO values will reduce the quality of your images, modern cameras can be pushed quite high before actually showing negative effects, so don’t be afraid to push it to ISO 800 (or even higher, depending on your camera), you might need all the light you can get.
Take your light sources into account
Consider what your best source of light is, and adapt accordingly. Is enough natural light available or will you be using artificial light? Will you need a flash?
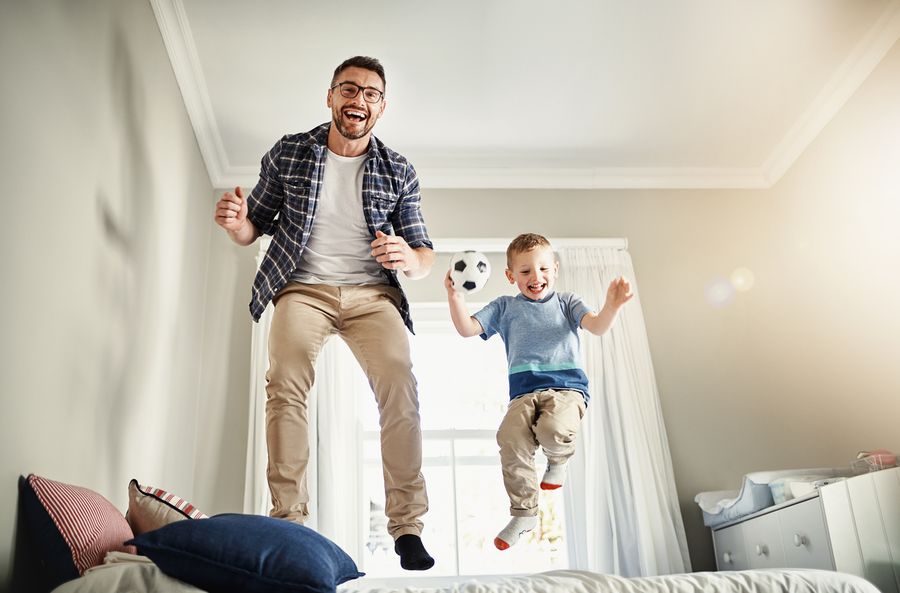
Light can be harsh or soft. Consider what conditions you have available and shoot accordingly. Harsh light is usually good to make contrast and shadows emerge, making for great dramatic photos. Soft light, on the other hand, is ideal if you want your subject to be evenly lit, and is often more flattering when taking portraits.
Try not to mix natural and artificial lighting, if possible.
Learn how to modify your light sources
If you’ve not 100% happy with the lighting then it’s likely your photos won’t look their best. Try and get used to adjusting your light sources before taking photos.
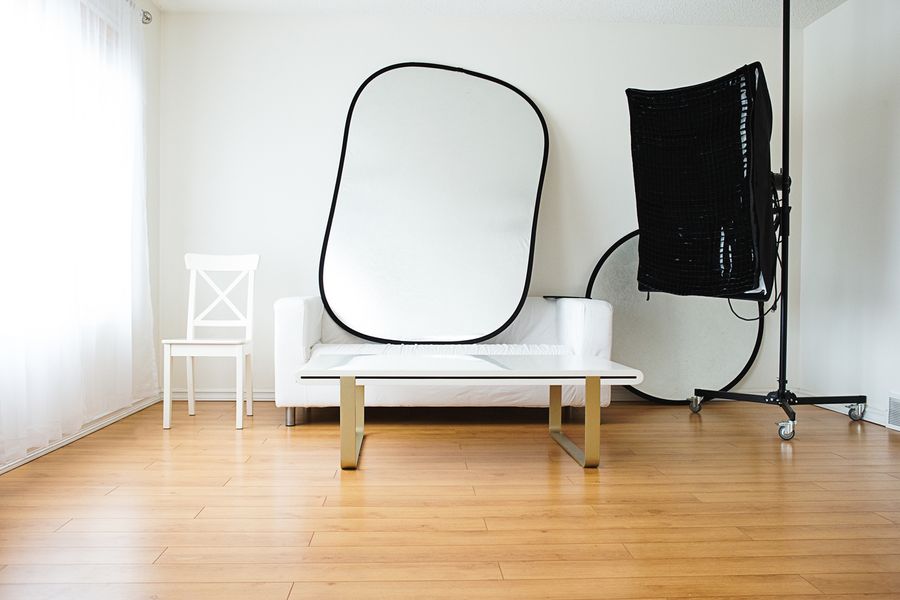
Use a backdrop to help diffuse light. A white sheet will often be enough to obtain a neutral and bright background for your subject. This is great for portraits.
Use a reflector to bring some extra light to the side of your subject that is not directly lit. Any reflecting surface will do, from a white piece of cardboard or foam, to one designed specifically for photography (they are quite cheap).
If you need to use the built in flash from your camera, try and make it’s light softer by placing a thin sheet of tissue paper or fabric in front of it. A white plastic bag will also do the trick, with some trial and error.
Adjust your white balance
This is especially important if you do not plan on editing or doing any post-processing to your images. An incorrect white balance will give an ugly tint to your photos, making them look cheap and unnatural.
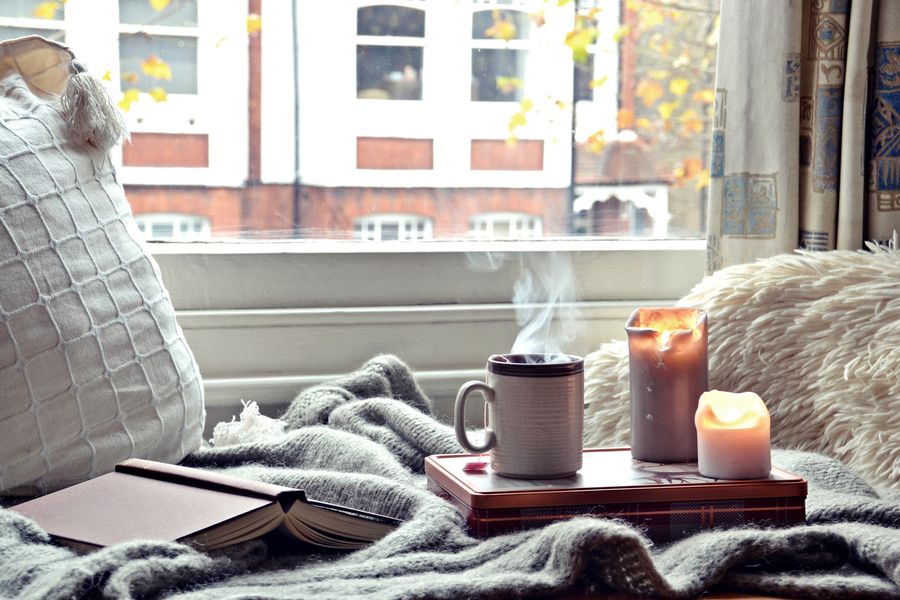
Most cameras give you a number of presets that should be enough to cover most situations, try them out, and remember that as lighting changes, so should your white balance.
Be mindful of composition
While this tip is always true, it be even more important when taking photos indoors.
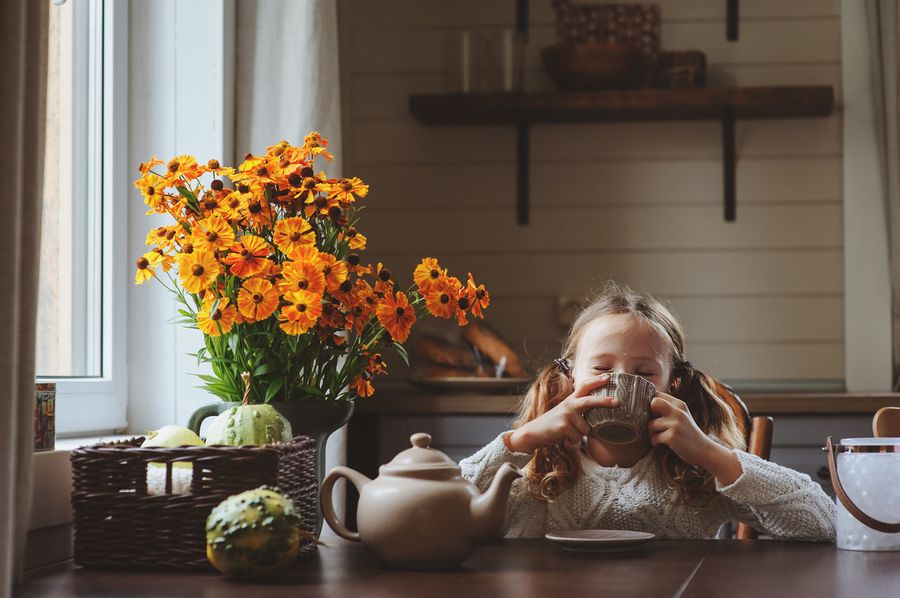
Be aware of your background and surroundings. Try and keep it simple and be mindful of clutter.
Choose what the subject of the photo will be and focus on that, you can cut most other elements out of the frame.
Try and separate your subject from the background.
Once you’ve understoodd the basics of indoor photography with the help of these simple tips, your images will immediately start looking better. The perfect excuse to bring those moments to life on a beautiful photo print, photo album or any other unique photo product.
What other photography tips would you like to see here? You can let us know in the comments below or get in touch on social media.
You could also share this blog on social media using the icons below to encourage your friends and family to get creative with their cameras too.